Does this sound like you? 3 PM rolls around, and your phone dies. Your laptop quits during that big video call. Your camera stops working just as the sunset is perfect.
In today’s always-on world, dead batteries cause more than just trouble. They mess with your work, stop your fun, and stress you out.
Power banks are a must-have. Sadly, most backpacks don’t have a good spot for them. That means digging around, tangled cables, or forgetting to charge the power bank because it’s lost in your bag.
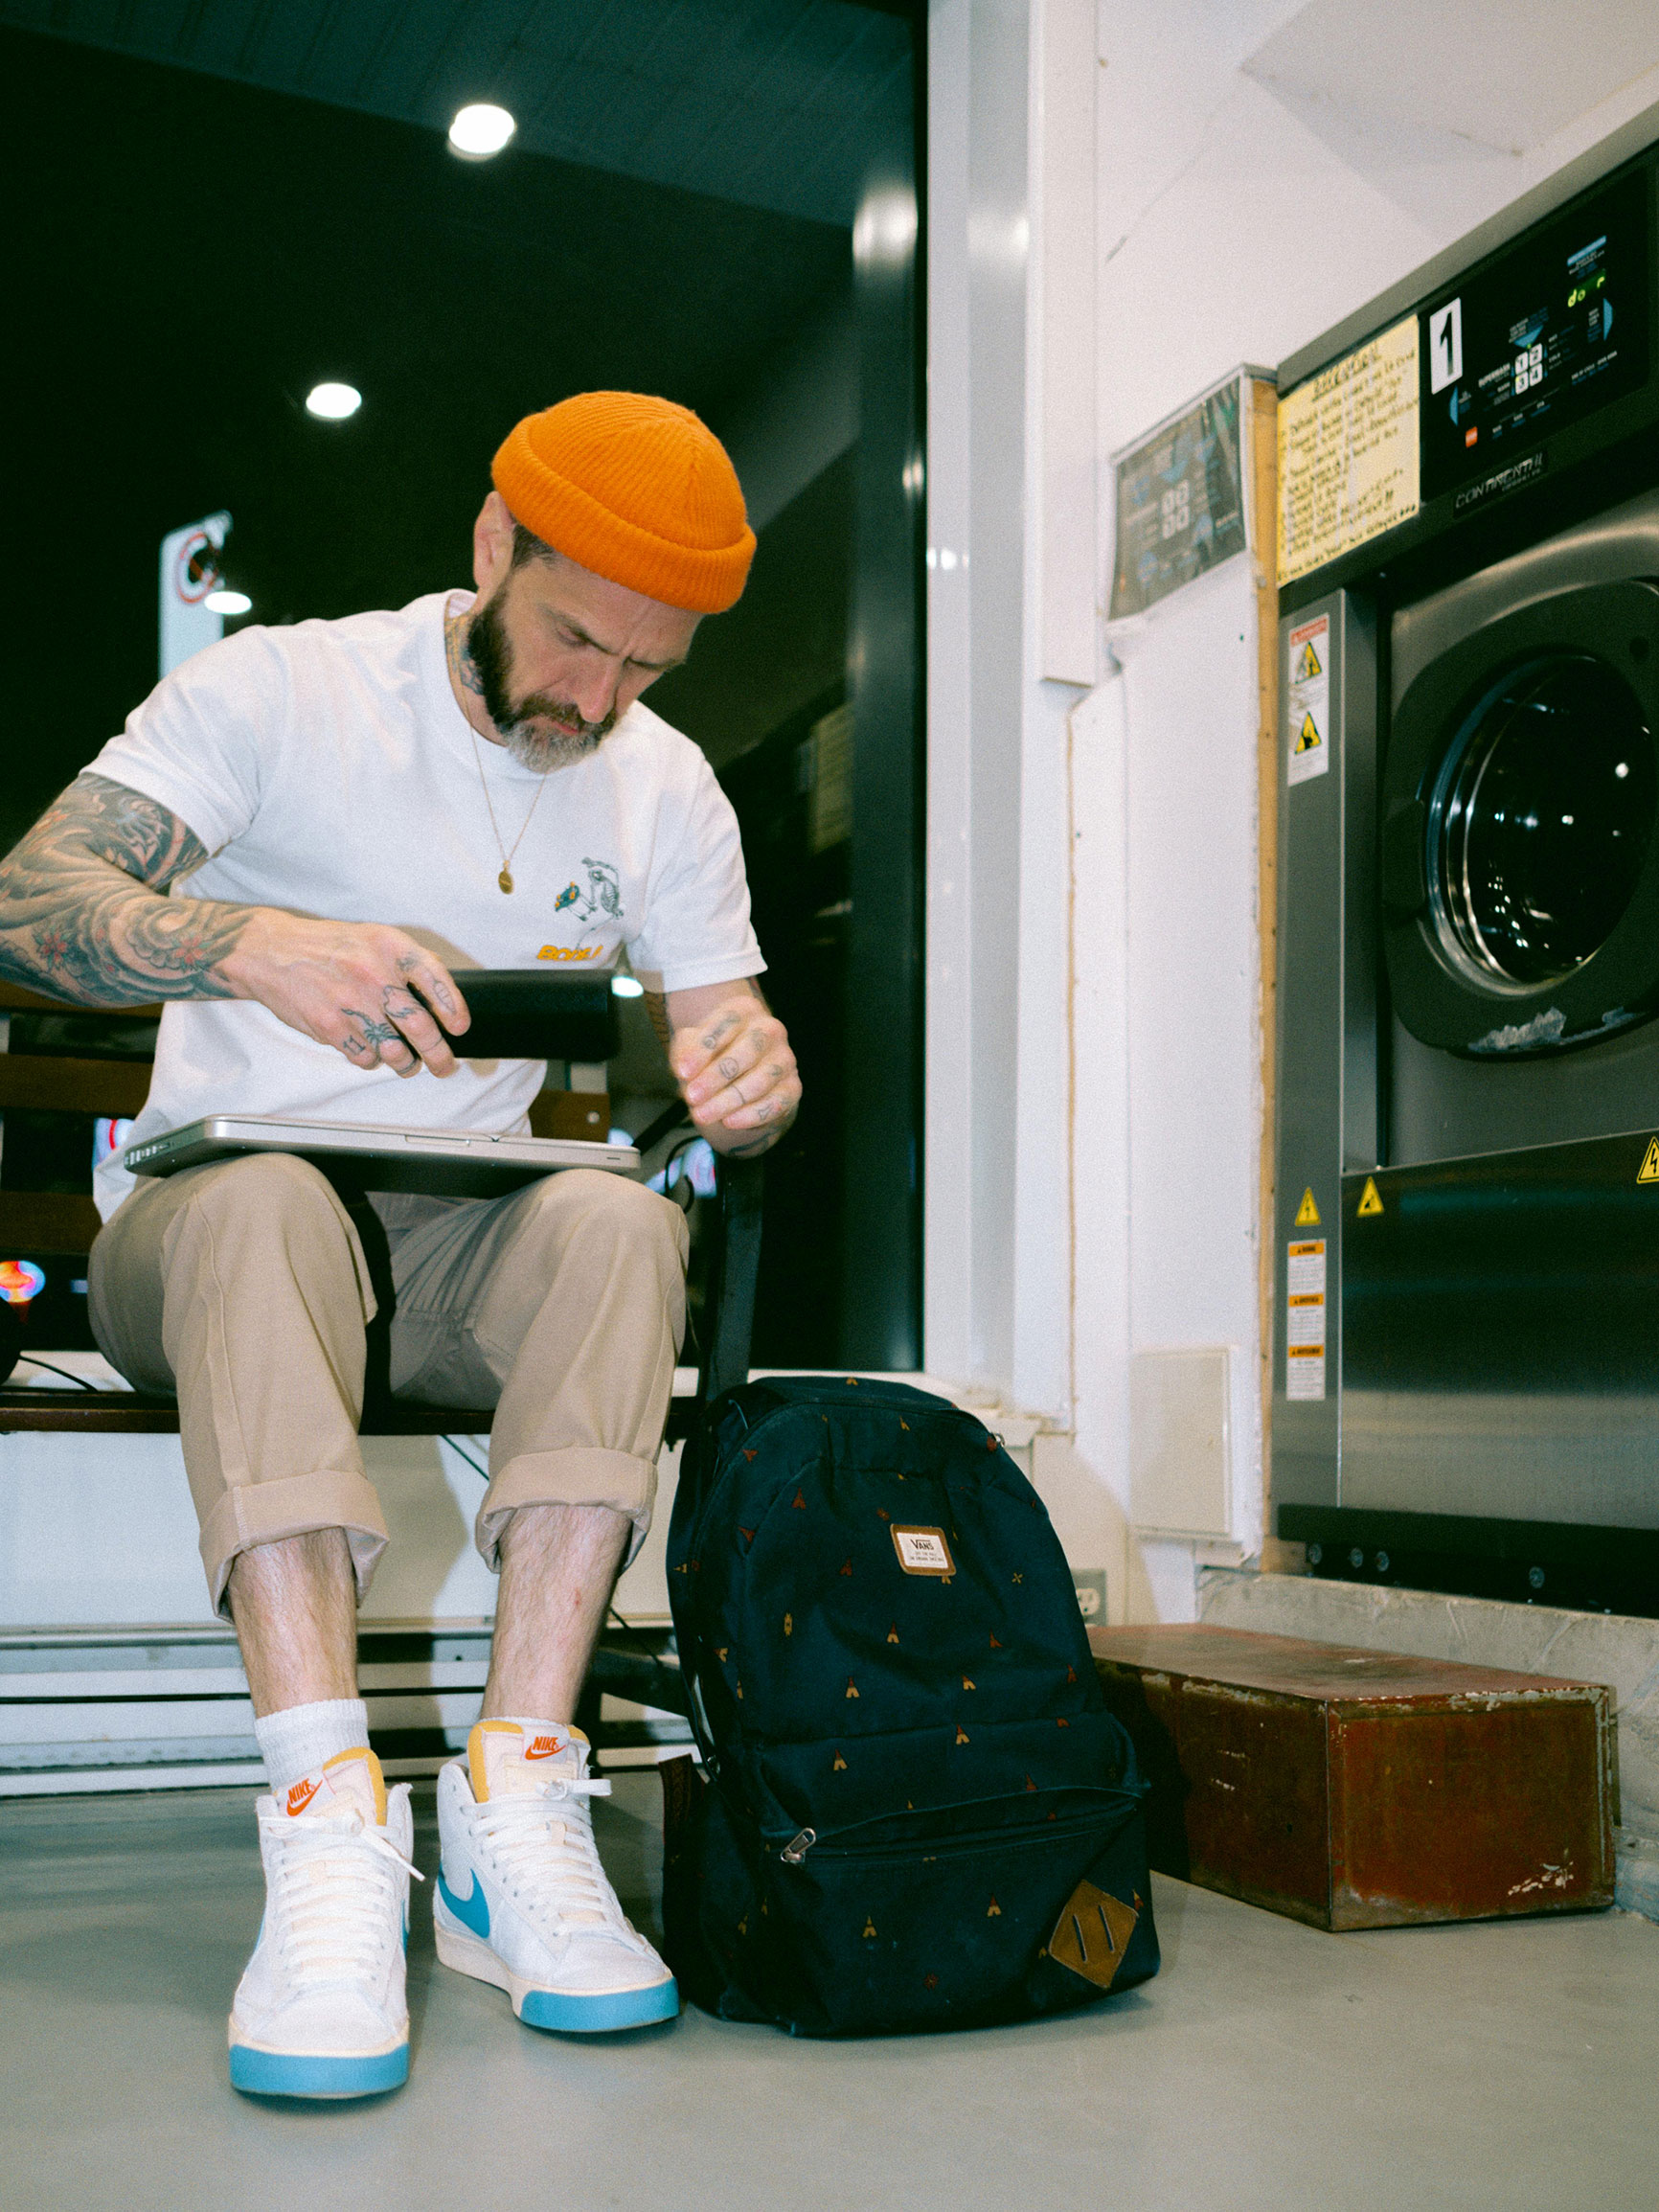
Knowing how to sew and fix your backpack can be super useful, especially if you can’t find a bag you like. For people who are always out and about, your EDC (EveryDayCarry) gear is key. Making custom pockets in your backpack can keep you from spending money on expensive bags.
This DIY pocket gets rid of all those problems. You get a spot just for your power bank that’s easy to reach, plus a way to keep those charging cables neat. Now, any backpack turns into a mobile charger.
Why Add a Power Bank Pocket?
Why Power Bank Storage Usually Stinks
Hard to Reach: If your power bank is buried way down, you have to empty half your bag to get to it.
Cable Mess: Cables get tangled, break, or vanish when you need them.
Bad Charging: It’s easy to forget to charge things if you can’t get to them. Your devices die before you remember.
Not Safe: Loose power banks can hurt other devices or get lost.
Why a Special Pocket is Great
Easy to Grab: Get your power bank without messing up your bag.
Cables Stay Put: Keep cables neat and working right.
Charge Smarter: When it’s easy to reach, you’ll charge more often and keep an eye on battery life.
Works with Any Bag: Fits any backpack and any size power bank.
Looks Good: Neat cables look planned, not thrown together.
Power Bank Sizes: Getting the Pocket Right
Before you start, know the sizes of power banks. This way, your pocket will the one you have now or maybe even a bigger one in the future.
Power Bank Sizes
Super Small (5,000-10,000mAh)
- Size: About 4.3 × 2.4 × 0.6
- Examples: Anker PowerCore Slim 10K, RAVPower Mini
- Good for: Charging your phone in a pinch, not taking up much room
- Weight: About 6-8 oz
Normal Size (10,000-20,000mAh)
- Size: About 5.5 × 2.7 × 0.9
- Examples: Anker PowerCore Essential 20K, Samsung 25W Power Bank
- Good for: Charging devices daily, a mix of size and power
- Weight: About 10-14 oz
Big (20,000-30,000mAh)
- Size: About 6.1 × 2.9 × 1.1
- Examples: Anker’s big power banks with tons of battery
- Good for: Charging many devices, long trips
- Weight: About 14-20 oz
Pocket Ideas by Power Bank Type
For Super Small Banks: Make a thin side pocket with stretchy stuff to hold it.
For Normal Size: Put a padded pocket inside with a velcro flap.
For Big: Make a pocket on the outside with straps to hold it tight.
What You Need
Tools
- Seam ripper – $3-5
- Scissors for fabric – $8-12
- Measuring tape – $3-5
- Pins for fabric – $2-4
- Sewing machine (or needle for sewing by hand) – $100+ or $2 for needles
Stuff List
Main Stuff
- Cordura nylon fabric (12 × 8) – $8-12
- Why Cordura: Tough, water-safe, and matches most backpacks
- Tip: Pick black or dark gray to match anything
- Where to get it: Cordura fabric at Fabric.com
- YKK zipper (8-10) – $3-5
- What size: #5 zipper, tough
- Color: Match your backpack’s zippers
- Where to get it: YKK zippers at ZipperStop
- Velcro strips (4 × 1) – $2-3
- Type: Sew-on, strong
- Where to get it: Velcro Brand products
To Make It Stronger
- Webbing strap (12 × 1) – $3-4
- Why: Makes it strong and easy to attach
- What to get: Polypropylene or nylon
- Where to get it: Webbing at REI
- Foam (6 × 4 × 0.25) – $2-3
- Why: Keeps power bank safe and still
- Type: Closed-cell foam or thin craft foam
- Where to get it: Foam at Amazon
Other Stuff
- Strong thread – $2-3
- Color: Match your fabric
- Type: Polyester, tough
- Where to get it: Gutermann thread
- Fabric glue (Maybe) – $3-5
- Why: To hold stuff in place before sewing
- Type: Washable
For Cables
- Grommets (4, 0.5 across) – $3-5
- Why: To run cables through
- What to get: Brass or stainless steel
- Where to get it: Grommets at Tandy Leather
- Stretchy cord (12) – $2-3
- Why: Keeps cables neat
- Size: 2mm
- Where to get it: Elastic cord at Paracord Planet
Cool Extras
- Magnetic latch – $5-8 (Easy to open with one hand)
- LED light – $8-12 (Lights up when charging)
- Tape that shines – $3-5 (Looks good and helps people see you)
How Much it Costs: $35-65, depending on what you get
How Long it Takes: 2-4 hours for the basics, 4-6 hours with extras
How to Put It Together
Part 1: Plan (30 minutes)
Step 1: Where to Put the Pocket
Outside Pocket (Easy for beginners):
- Easy to do
- Easy to reach
- You can see the power bank
- Might not look super slick
Inside Main Area:
- Looks neat
- Safe from weather
- Harder to do
In the Laptop Area:
- Good for work/school bags
- Power bank near devices
- Hardest to do
Step 2: Measure Your Power Bank
- Measure how long, wide, and thick it is.
- Add 0.5 to each side so it fits good.
- Add 1 to the width if you want to store cables there, too.
- Write these sizes down and make a paper shape.
Step 3: Try It Out
- Use tape to show where the pocket will go on the backpack.
- Make sure you can reach it while wearing the bag.
- Make sure the pocket doesn’t get in the way of anything else (water bottle holders, zippers, etc.).
- Draw the final spot with chalk that can be wiped off.
Part 2: Get the Fabric Ready (45 minutes)
Step 4: Cut the Fabric
Main Pocket:
- Width: Power bank width + 1 for sewing
- Height: (Power bank height × 2) + 3 to fold over
- Cut 1 piece
To Make It Stronger:
- Cut webbing to the pocket width
- Cut foam to the power bank size
For Cables:
- Width: Power bank width
- Height: 3
- Cut 1 piece (this goes on the pocket front)
Step 5: Add Grommets
- Mark where the holes for the cables go (usually 2, about 1 apart).
- Cut the holes with a hole punch or knife.
- Put the grommets in like the instructions say.
- Make sure your charging cables fit.
Step 6: Make It Stronger
- Sew the webbing along the top of the main pocket piece.
- This keeps it from stretching and makes it easy to attach.
- Use a zigzag stitch to make it really strong.
Part 3: Make the Pocket (60 minutes)
Step 7: Make the Pocket Shape
- Fold the main pocket piece in half (good sides together).
- Sew the sides, leaving 0.5 for sewing.
- Sew back and forth at the ends to make it stronger.
- Turn the pocket right-side out.
Step 8: Add Padding
- Put the foam in the pocket bottom.
- Sew it a little to keep it from moving.
- This protects the power bank.
Step 9: Cable Time
- Put the cable piece on the pocket front.
- Line up the holes for the cables so it works good.
- Sew the piece to the pocket with a cool-looking stitch.
Step 10: How to Close It
For Velcro:
- Sew the rough part of the velcro to the pocket flap.
- Sew the soft part to the pocket.
- Make sure it’s strong enough to hold with the power bank in it.
For Zipper:
- Pin the zipper to the pocket opening.
- Sew it with a special zipper foot.
- Sew back and forth at the ends to make them strong.
Part 4: Put It on the Backpack (45 minutes)
Step 11: Get Ready to Attach
Outside:
- Mark where the pocket goes.
- Open a little of the seam on the backpack with the seam ripper.
- This makes a spot to attach it without breaking the bag.
Inside:
- Find seams inside to attach to.
- You can use other pockets as spots to hold it.
Step 12: Attach the Pocket
- Pin the pocket where it goes.
- Check that the power bank fits good and the cables work before sewing.
- Sew the pocket to the backpack with strong thread.
- Sew back and forth a lot to make it super strong.
Step 13: Run the Cables
- Put the stretchy cord through the holes.
- Make loops at the ends so they don’t pull through.
- Try it out with your real charging cables.
Part 5: Check It Out (30 minutes)
Step 14: Load It Up
- Put the power bank in and close it.
- Add the cables and check how they run.
- Wear the backpack and see if you can reach it easy.
- Make sure the pocket doesn’t get in the way of anything else.
Step 15: Fix It Up
- Cut off extra threads.
- Tighten the stretchy cord if you need to.
- Spray with fabric protector if you want.
Pro Tips
Light It Up
For people who want to see when it’s charging:
What You Need:
- LED light (battery powered) – $12
- Small on/off switch – $3
- Thin wire – $2
How To:
- Put the light around the pocket opening.
- Put the switch on the outside of the pocket.
- Wire it to a small battery (like a watch battery).
- It lights up the pocket.
Magnets
Use magnets instead of zippers or velcro:
What You Need:
- Magnets (4, 0.5 across) – $8
- Fabric to cover the magnets – $2
Why:
- Easy to open with one hand
- Quiet
- Stays shut even when running
- Nothing to wear out
Cables That Can Change
Make it easy to swap out cables:
Things to Have:
- Cables that wrap around
- Ways to run cables different ways
- Easy to take apart
- Works with different cables
Ready for Solar
Make the pocket ready for a solar panel later:
Things to Think About:
- Room to run solar cables
- Clear spot for solar panels
- Safe from weather
- Solar charging is awesome
Problems?
Too Tight
What it Looks Like: Hard to put power bank in, stretching.
Fixes:
- Add 0.25 to each side
- Use stretchy fabric on the sides
- Add extra fabric on the sides
Cables Tangled
What it Looks Like: Messy, hard to run cables.
Fixes:
- Add more holes
- Add cable holders inside
- Use cables that coil up
Bag Off Balance
What it Looks Like: Bag tips, hard to carry.
Fixes:
- Move the pocket closer to the middle
- Add weight on the other side
- Put it inside instead
Closure Not Working
What it Looks Like: Pocket opens, stuff falls out.
Fixes:
- Get stronger velcro
- Velcro and something else
- Use a zipper that locks
Power Bank Ideas
Here are some power banks that work great with this pocket:
For Everyday
Anker PowerCore Slim 10K PD
- Shop Anker PowerCore Slim
- Size: 5.9 × 2.7 × 0.6
- Works With: Standard outside pocket
- Why it’s good: Slim, charges reliably, fits most phones
For Travel
Anker PowerCore Essential 20K
- Shop Anker PowerCore Essential
- Size: 6.3 × 2.7 × 0.9
- Works With: Inside pocket
- Why it’s good: Lots of power, charges many devices, tough
For Outside
Goal Zero Sherpa 100PD
- Shop Goal Zero Sherpa
- Size: 7.8 × 4.5 × 1
- Works With: Big outside pocket, safe from weather
- Why it’s good: Rugged, charges laptops, works with solar
Cheap
INIU Portable Charger 10000mAh
- Shop INIU Charger
- Size: 5.2 × 2.4 × 0.9
- Works With: Good for learning
- Why it’s good: Not expensive, works good, normal size
How to Keep It Up
Every Week
- Check the sewing
- Clean with a wet cloth
- Check zipper or velcro
- Look at the cables
Every Month
- Take the power bank out and vacuum
- Spray with fabric protector
- Put wax on the zipper
- Check the attachment points
Every Season
- Look at all the seams
- Replace the stretchy cord if it’s loose
- Change what’s in the pocket
- Think about what you’ve been doing and if you need to it change.
Tips From Users
Pro Photographer
I have two pockets — one for the power bank and one for camera batteries. Put them in the right spot so the weight is even. — Marcus Chen
Digital Nomad
I have a big power bank pocket and a small one for cables. The cable system keeps everything neat. — Sarah Williams
Student
I put mine near my laptop. It’s like a charging station for long study times. — James Rodriguez
Buy It or Make It?
DIY Costs
- Stuff: $35-65
- Time: 3-5 hours
- Tools: $20-40 (if you don’t have any)
- Total: $55-105 + time
Buy a New Bag
- Good bags with power pockets: $150-400
- Examples: Peak Design Travel Backpack, Nomatic Travel Bag
- Good: Made good, comes with a promise
Making It Is…
- You get to pick: Exactly what you need
- You learn: Sewing and fixing skills
- Good feeling: You made something cool
- You can change it: Make it better later
Buy It If…
- You don’t have time
- You want a promise
- You want it to look perfect
Help the Earth
Keep Your Bag Longer
Instead of buying new bags, fix up what you have. This makes less trash and saves money.
Fix It, Don’t Toss It
Learn to fix things. Then, if something breaks, you can fix it instead of buying a new one.
What Stuff to Pick
- Pick stuff that’s recycled
- Pick stuff that lasts
- This way, it feels good on the environment
What Else Can You Do?
Make It Modular
Plan for more later:
- Spots to add more pockets
- Easy to change parts
- Cables that can change
Add New Tech
- Wireless charging: Use flat pads
- Smart charging: Control it better
- Pockets for devices: Fits tablets, cameras, etc.
- Check the weather: See temperature for devices
You Got This
Making a power bank pocket turns your backpack into a smart charger. It’s not just easy—it’s about being free, having trust, and knowing you can do anything.
The time you put in will save you from stress, missed chances, and dead devices. Even better, you’ll learn skills that can help with all sorts of things.
Whether you’re a student, traveler, or just like to have power on the go, your custom pocket ensures you’re always ready. You won’t have to dig through bags, deal with tangled cables, or get stressed about dead devices again.
Your backpack is now smarter. And so are you.
Stuff You Need
Basics ($35-45):
- Cordura fabric at Fabric.com – $10
- YKK zippers at ZipperStop – $4
- Velcro Brand sew-on strips – $3
- Webbing at REI – $4
- Foam at Amazon – $3
- Gutermann thread – $3
- Grommets at Tandy Leather – $4
- Elastic cord at Paracord Planet – $3
Power Banks:
- Anker PowerCore Slim 10K PD – $50
- Anker PowerCore Essential 20K – $60
- Goal Zero Sherpa 100PD – $200
#DIYBackpack #PowerBankHack #BackpackModification #DIYGear #TechHacks #BackpackCustomization #PowerBankPocket #DIYTech #BackpackUpgrade #MobileCharging #TechDIY #BackpackHacks #PowerOnTheGo #DIYProjects #TechAccessories #BackpackMods #PortablePower #DIYSewing #GearModification #BackpackTips #DIYTutorial #TechLifeHacks #BackpackOrganization #PowerBankStorage #DIYTravelGear #TechPrep #BackpackDIY #MobilePowerStation #DIYInnovation #BackpackEngineering