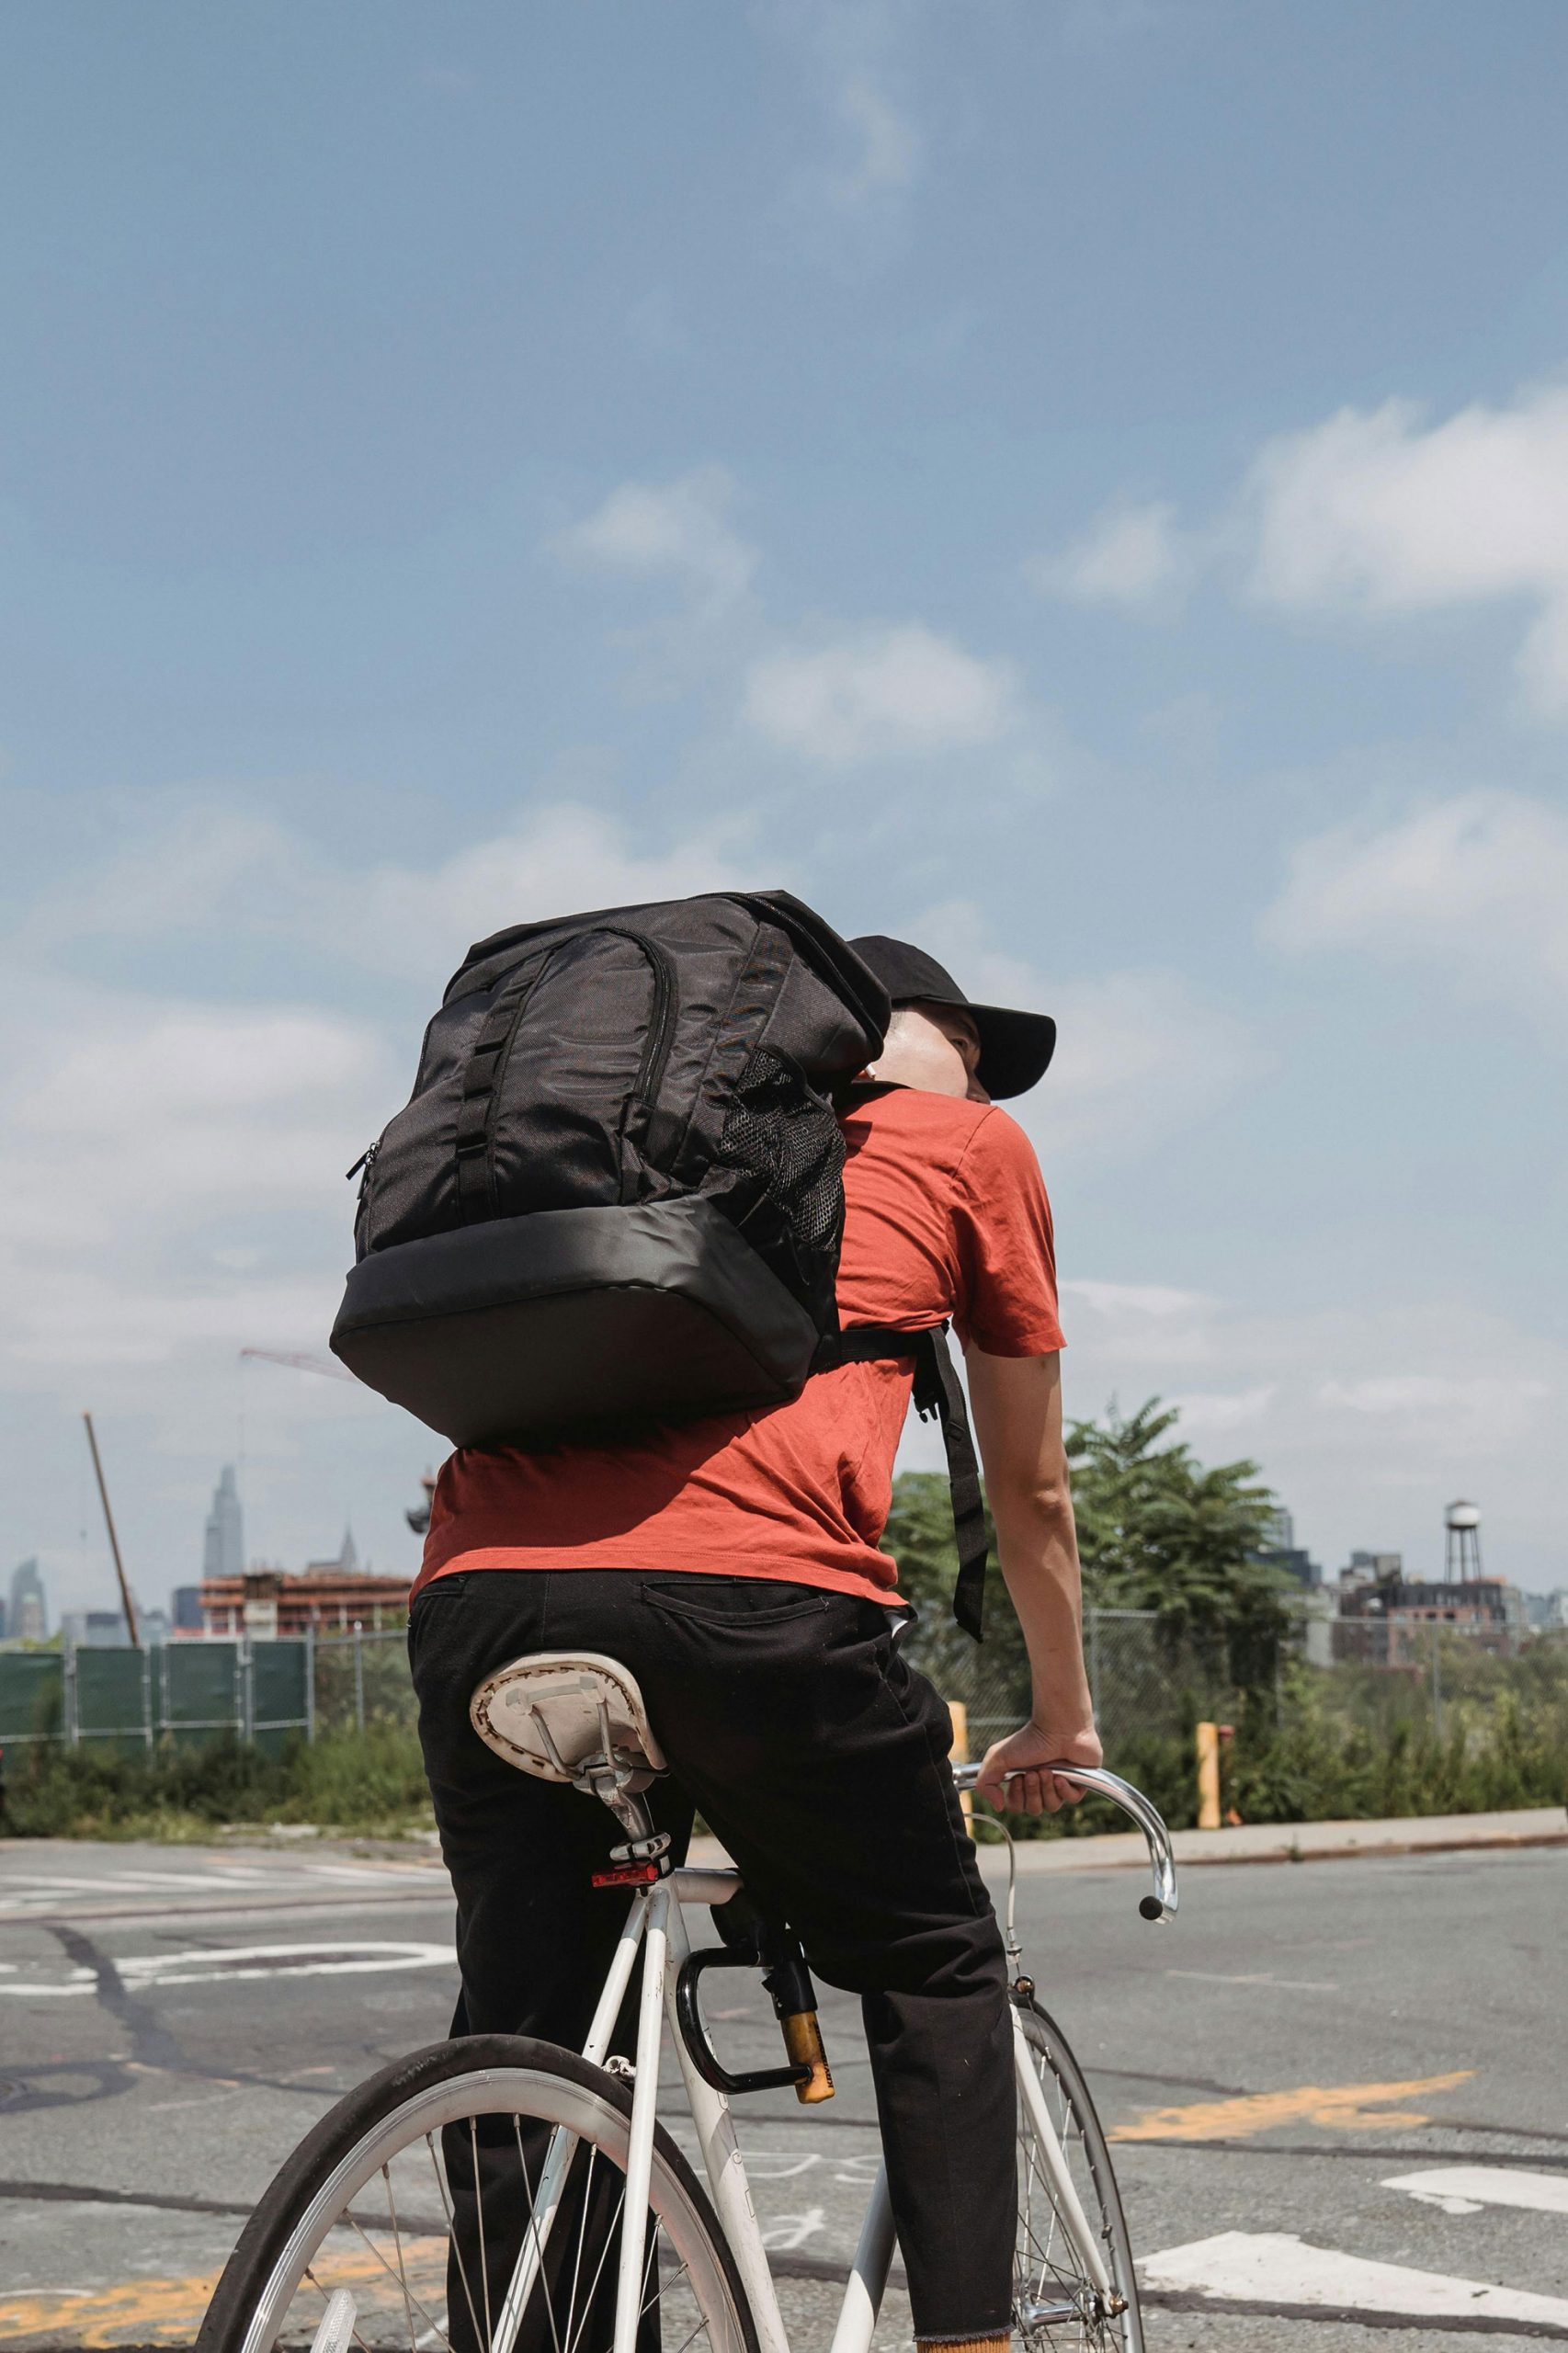
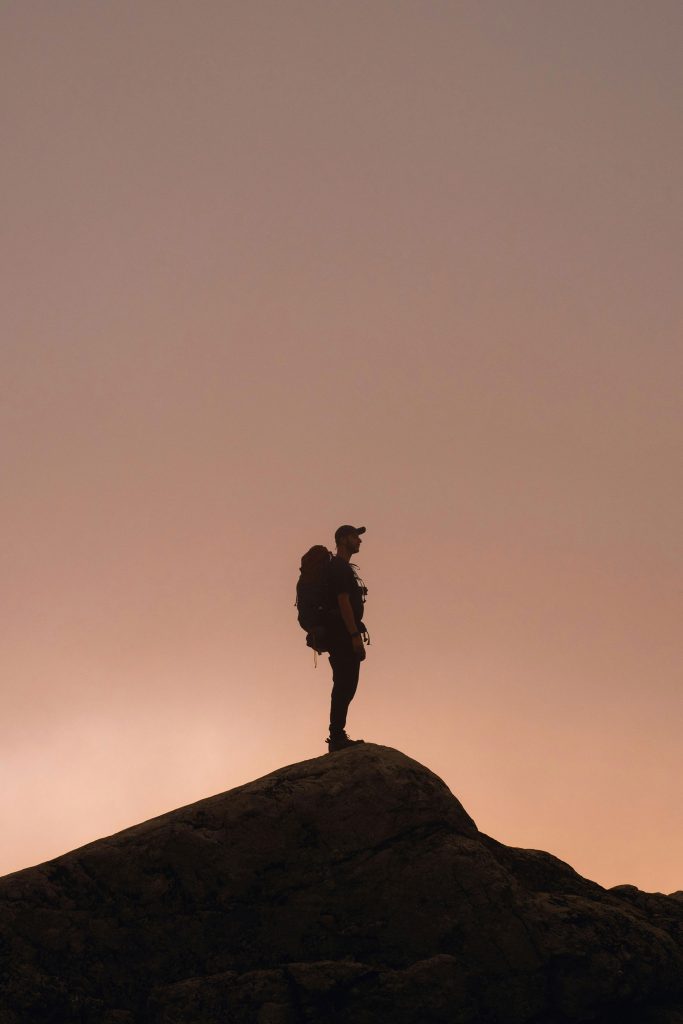
Using the wrong backpack on a hike? That’s like running a marathon in flip-flops. Sure, you could do it, but it won’t be fun.
A super hike versus a bad one often comes down to your backpack. Planning a day trip or a long wilderness adventure? This guide helps you pick a backpack that makes things better, not worse.
Why Your Backpack Matters
What Happens if You Mess Up?
What Happens with a Bad Backpack:
- Ouch: Your shoulders, back, and hips will hurt more with each mile.
- Broken stuff: Things can get damaged without proper protection.
- Danger: You can’t get to emergency gear fast.
- Less Fun: You’re always adjusting and uncomfortable.
- Trip cut short: You might have to stop early because you’re in too much pain.
The Right Backpack = A Great Trip
Good Backpack Perks:
- Easy to carry: Weight is spread out, so it’s easier to carry heavy stuff.
- Safer: Easy access to first aid and maps.
- Hike longer: You can hike longer since you’re comfortable.
- Stay Organized: Everything has a place.
- Dry Gear: Keeps your stuff dry when the weather turns.
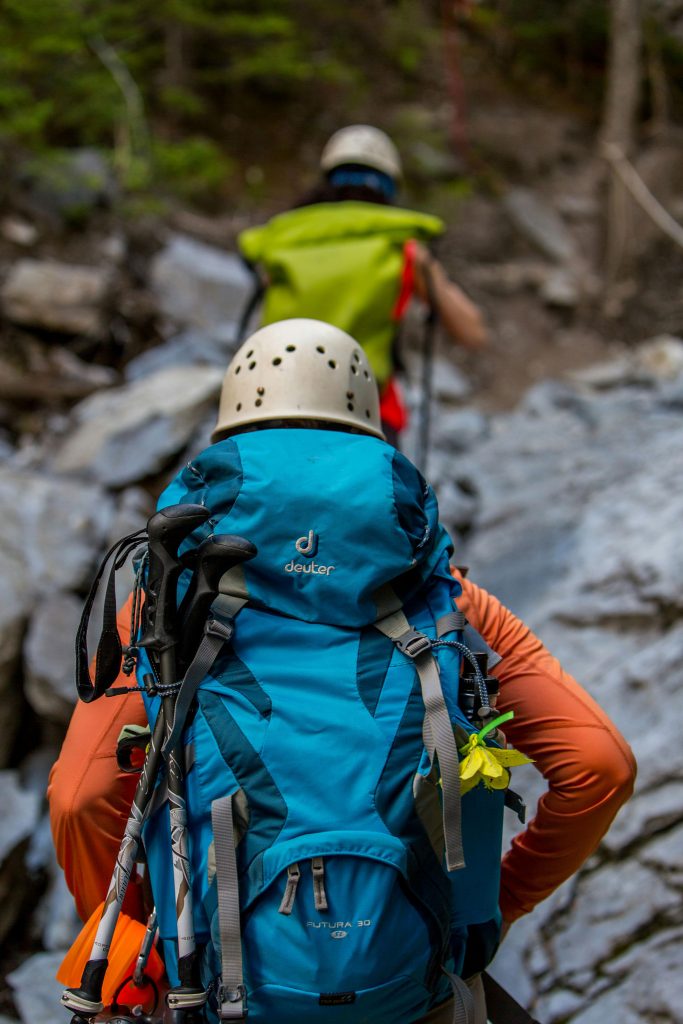
Must-Have Backpack Features
The Suspension System: Your Comfort Zone
This is super important. It moves the weight from your back to your hips for comfort.
Key Parts:
Shoulder Straps
- Shaped right: Made to fit your shoulders.
- Padded: So they don’t dig in.
- Lift straps: Pull the weight closer to your back.
- Chest strap: Keeps the shoulder straps from spreading.
Hip Belt
- Padded: Wide and comfy to move weight to your hips.
- Position: It should sit on your hip bones.
- Pockets: Easy to reach snacks and your phone.
- Adjustable: Fits different body types.
Back Panel
- Airflow: Helps keep you cool.
- Fits your back: Made to fit the shape of your spine.
- Weight spread: Spreads the weight evenly.
- Adjustable length: Works for different bodies.
Room and Organization
How to Get In
- Top-loading: The usual way, good for packing.
- Front zip: Easy to grab stuff.
- Sleeping bag spot: A separate spot for your sleeping bag.
- Inside pockets: Keeps things from getting messy.
Places to Attach Gear
- Pole holders: To hold your hiking poles.
- Gear loops: To hook extra stuff on.
- Straps: To make the pack smaller and keep things steady.
- Side pockets: For water bottles and things you use a lot.
Strong and Weather-Ready
Good Materials
- Ripstop nylon: Strong but not too heavy.
- Double layers: Extra strong where it matters.
- Water-resistant: Keeps light rain out.
- Good zippers: Strong and reliable.
Weather Extras
- Rain cover: To keep your stuff dry when it rains.
- Storm collar: Keeps water away from the main part of the pack.
- Sealed areas: Stops water from getting in.
- Strong bottom: Won’t rip easily.

Types and Sizes of Hiking Backpacks
Day Hiking Backpacks (20-35 Liters)
Perfect For: Hikes up to 12 hours, taking photos
What to Carry: Water, snacks, extra clothes, safety gear (10-20 pounds)
What You Need:
- A place for your water.
- Lots of easy-to-reach pockets.
- Should be lightweight (under 2 pounds).
- Comfortable for 6-12 hours.
- Keeps electronics safe from weather.
Good Choices:
- Osprey Talon 22: Works for different things, good airflow.
- Patagonia Nine Trails 28L: Made from good materials.
- Deuter Speed Lite 21: Super light and comfy.
Overnight/Weekend Backpacks (35-50 Liters)
Perfect For: Trips of 1-3 nights
What to Carry: Shelter, sleep gear, food (25-35 pounds)
Key Things:
- Place to keep your sleeping bag separate.
- Room for cooking gear.
- Stronger to hold heavier loads.
- Places to attach extra stuff.
- Weather protection.
Top Choices:
- Gregory Paragon 48: Fits well, comfy hip belt.
- Osprey Exos 48: Super light .
- REI Co-op Flash 45: Good value.
Multi-Day Backpacking Packs (50-70 Liters)
Perfect For: Trips of 3-7 days
What to Carry: Full camping gear and food (35-50 pounds)
Must-Have Stuff:
- Super strong for heavy loads.
- Ways to get to your gear easily.
- Lots of places to attach extras.
- Made to last.
- Great weather protection.
Good Options:
- Osprey Atmos AG 65: Industry-leading, super comfy.
- Gregory Baltoro 65: Strong, good for organization.
- Deuter Aircontact Lite 65+10: Long-lasting.
Extended Expedition Packs (70+ Liters)
Perfect For: Trips of a week or more, cold weather
What to Carry: Lots of gear (50+ pounds)
Special Needs:
- Holds a ton of weight.
- Made for expeditions.
- Ways to keep everything organized.
- Works with special gear.
- Weather protection.
FYI: These packs are for serious trips. Most people will be better off with something smaller.
Top Tier:
- Osprey Aether AG 70: Great quality.
- Gregory Denali Pro 105: Made for mountains.
- Arc’teryx Bora AR 63: Works in tough conditions.
Top Backpacks in Each Group
Best Day Hiking Backpack: Osprey Talon 22
Why It’s Great: Good weight, comfy, useful
- Weight: About 1 lb 9 oz
- Comfort: Good airflow.
- Organization: Good pockets.
- Lasting: Made well.
- Works for different things: Hiking, biking, travel.
Cost: $100-130
Best For: Day hikers, anyone who wants something light.
Best Budget Hiking Backpack: REI Co-op Trail 25
Why It’s a Good Deal: Good value, good price
- Basics: Has what you need.
- Comfort: Okay for day hikes.
- Lasting: Made well
- Price: Less than $80
What You Get: Almost as good as the expensive packs, but costs less. Great for beginners.
Best Multi-Day Pack: Osprey Atmos AG 65
Why It’s Worth It: Super comfy for long trips
- Anti-Gravity: Back panel keeps pressure off.
- Weight: Makes 45 pounds feel like 30.
- Airflow: Keeps you cool.
- Lasting: Made to last.
Worth It: It’s pricey ($280-320), but it’s worth it if you hike a lot.
Best Design for Women: Gregory Maya 22
Why the Fit Matters: Made for women’s bodies
- Size: Shorter for women’s backs
- Straps: Made for women’s shoulders
- Hip belt: Fits women’s hips
- Weight: Made for a woman’s center of gravity
The Word: Women say these packs are comfier than the ones made for everyone.
Best Ultralight Option: Hyperlite Mountain Gear 2400 Southwest
Why Weight Matters: If you hike far, every bit counts
- Weight: Less than 2 pounds
- Materials: Made from strong material
- Design: Simple but works
- Lasting: Sturdy
Things to Know: Costs more, isn’t as comfy, for specific use.
Perfect For: Experienced hikers focused on saving weight.
Getting the Right Fit
Finding Your Torso Length
Measure your torso – from the base of your neck to the top of your hips.
How to Measure:
- Get someone to help.
- Tilt your head forward to find the bone at the base of your neck.
- Put your hands on your hips.
- Measure between these points.
- Check the backpack size chart.
How to Get Fitted
Step 1: Load It Up
- Add 20-30 pounds to make it feel like a real hike.
- Use actual gear.
Step 2: Start Loose
- Loosen all the straps.
- Put on the pack and buckle the hip belt.
- Place the hip belt on your hip bones.
- Tighten the hip belt.
Step 3: Shoulder Straps
- Tighten the shoulder straps.
- Most of the weight should be on your hips, not your shoulders.
Step 4: Lift Straps
- Adjust the lift straps to a 45-degree angle.
- This pulls the pack closer to your back.
Step 5: Chest Strap
- Buckle the chest strap.
- Tighten it to keep the shoulder straps in place.
Testing for Comfort
At the Store:
- Wear the pack for 10 minutes.
- Walk around.
- Check for pressure or rubbing.
- Make sure you can reach everything.
Break It In:
- Start short with light loads.
- Add weight and distance over time.
- Adjust as needed.
- Return it if it’s uncomfortable after 20+ hours.
What If It’s Not Fitting Right?
Shoulder Pain
- Why: Too much weight on your shoulders.
- Fix: Tighten the hip belt, loosen the shoulder straps.
Hip Discomfort
- Why: Wrong size or position.
- Fix: Make sure the belt is on your hip bones. Try a different size.
Sweaty Back
- Why: Not enough airflow.
- Fix: Pack heavier gear closer to your back, air it out.
Pack Pulling Back
- Why: Lift straps not adjusted.
- Fix: Tighten the lift straps.
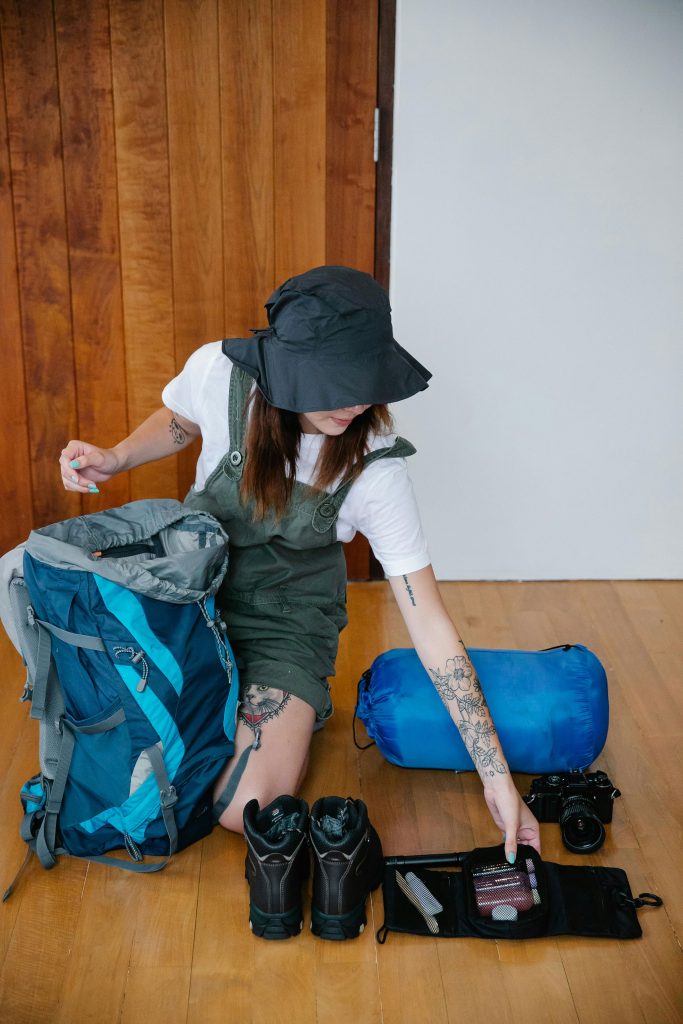
How to Pack Like a Pro
How to Load Weight
Bottom (Heavy Stuff You Don’t Need Often)
- Sleeping bag: Bulky, don’t need it until camp.
- Extra clothes: Keep for backup
- Fuel: Heavy, goes on the bottom.
Middle (Heavy Stuff You Need)
- Food and water: Need it during the day.
- Cooking gear: Pots, stove, etc.
- Shelter: Tent.
Top (Light Stuff You Need Often)
- Rain gear: Easy to grab.
- First aid: In case of emergency.
- Electronics: Camera, phone, etc.
Outside (Quick Access)
- Water bottles: Side pockets.
- Hiking poles: When not using.
- Map: Hip belt pocket.
Packing Tips
Use Compression Sacks
- Use compression sacks to make clothing smaller.
- Fill extra space with socks.
- Use the straps to keep things tight.
Color Code
- Red: First aid
- Blue: Clothes
- Green: Food
- Yellow: Electronics
Easy Access
- Things you need while hiking go in outside pockets.
- Things you need at camp go in the main part.
- Emergency stuff has its own spot.
Pro Packing
Smaller Bags Inside Bigger Bags
- When packing light, put smaller bags inside bigger ones.
- This saves space when you have a lot of stuff.
Pack for the Day
- Pack what you need for camp at the top.
- Move what you need for tomorrow to the front.
Keep It Balanced
- Check the balance often.
- Adjust as you eat food and drink water.
- Keep the weight close to your spine.

Staying Dry and Keeping Your Pack in Good Shape
Weather Prep
Rainy Days
- Pack cover: Most packs have one.
- Dry bags: For electronics and sleeping bags.
- Pack liner: A trash bag for extra protection.
- Fast access: Keep rain gear where you can grab it.
Temperature Prep
- Hot: Airflow is important.
- Cold: manage condensation and use gloves.
- Changes: Dress in layers.
Material Talk
Fabric Weight
- 210D nylon: Light, but handle with care.
- 420D nylon: Good for most people.
- 500D nylon: For tough use.
Coatings
- DWR: Keeps water away.
- PU: Waterproof.
- Silicone: Light waterproofing.
How Strong Is It?
Rub Test
- 500D Cordura: did great, hardly any wear after a lot of use
- 420D Ripstop: Worked well
- 210D Ultralight: Wears quickly
Real World
- Sharp things: Watch out for crampons.
- Rocks: Granite rocks wear packs down.
- Branches: Tough on fabric.
How to Fix It
What to Carry
- Duct tape: For rips.
- Seam sealer: Fixes leaks.
- Zipper fix: Pencil graphite for sticky zippers.
- Patches: For permanent fixes.
Long Term
- Clean it: Get rid of dirt.
- DWR: Add more repellent.
- Store it right: Cool and dry.
Is It Worth Spending More?
Budget Backpacks ($50-150)
What You Get:
- Good enough suspension.
- Basic materials.
- Some basic extras.
- Limited returns (1-2 years).
What’s Missing:
- Fancy suspension.
- Good materials.
- Not a ton of extras.
- Won’t last as long.
Good Buys:
- REI Co-op Trail: It works, Good returns
- Kelty Redwing: It has a classic look, Trust worthy
- High Sierra Loop: Cheap, good basic stuff
What You Save: You get what you need and don’t spend much. It’s great for the occasional hikers
Mid-Range ($150-250)
What You Get Included:
- Comfy suspension.
- Decent Quality and Safety
- Cool design
- Great returns (5+ years).
Included Premium Items:
- Vented back
- Great zippers
- Multiple access
- Safe Weather proof
Good Picks:
- Osprey Exos/Eja: Cool air Ventilation system, light weight
- Gregory Paragon/Maven: comfortable.
- Deuter Futura: Great Engineering
How to spend: Easy investment for regular hikers.
Premium Backpacks ($250-400+)
New Items:
- New safe suspension
- Safe Materials .
- Good safe weather
- Lifetime Return/Repair.
Easy Advancements:
- Easy to handle weight for distances
- Safe to conditions
- Easy to do access
- Great materials
Best brands:
- Osprey Atmos/Aura AG: Anti-Gravity suspension system
- Gregory Baltoro/Deva: Great build
- Arc’teryx Bora series: Good for mountains
Money to spend: For long hikers (100+ miles per year), great for a long time.
When is spending right/okay
Long trips: Monthly or rough land
Expert Advice: Need great feel.
Medical advice: Superior for backs
Great protection: Good protection
Good budget
Occasion hiker: Just a little hiking.
beginners: Learning.
Simple travel: Simple bags
Kids: Too expensive for kids.
Tested wisdom
3 hour rule:
New bags 3 hours/weight.
20 rule:
Keep weight 20 of body
Easy access:
Open with one hand!
Weather rule:
Plan for worst!
Techniques
Load test:
Test your load
Database:
Keep track of bags
Adapting:
Adapting is what bag is for!
Maintenance
To extend life.
**Clean it: Every day
Fix it: Fix issues
Check for problems: Check for rips
Repairs
**Repair small issues
Replace major!
Warranty
Great bags!
Key facts:
Fit
Size
Usage level
Test
Started:
Measure
Define trips
Budget
Test!
Invest!!
Final words:
Its just the beginning! Safe hiking.
Rating 5/5
*Quality is investment to be safe!
#HikingBackpack #BackpackingGear #HikingGear #OutdoorEquipment #TrailGear #HikingEssentials #BackpackingLife #OutdoorAdventure #HikingTips #TrailReady #MountainGear #WildernessGear #HikingLife #BackpackReview #OutdoorLifestyle #AdventureGear #HikingPrep #TrailEquipment #BackpackingTips #HikingGuide